
If this is your first time working with ACC and VIKTOR, start with the previous guide first. Create BIM applications in minutes with AI and Autodesk Platform Services. In that blog, we go through the setup of the integration between ACC and VIKTOR (by prompting as well) and cover a few simple use cases. That gives you the foundation you need before jumping into the prompting strategies in this post.
Here, the focus is on prompting better once the integration is already in place. We will cover three prompts and the ideas behind them so you can apply the same approach in your own apps. The goal is simple. Help you build better apps through better prompts.
In this blog, you will learn how to prompt the App Builder to:
Let’s start.
Prompt 1 - Navigate complex Revit models for quantity takeoff
Quantity takeoffs are one of the most common use cases when working with the App Builder and the Autodesk APIs. They are often the first step in cost analysis and in creating a bill of materials, so it is important to understand how to navigate the Revit hierarchy.
You can download the following model, upload it to your ACC, and run the prompt below in the App Builder. We will use this piping model as an example for a quantity takeoff of plumbing elements, because it includes multiple categories, families, and types. Then I will explain the relevant parts.

Build this app now
Visualize a Revit model from ACC and navigate complex quantity takeoff
Key takeaways from this prompt
From the previous prompt I want you to keep the following tips:
-
Always start by looking at the 3D view of the model with AutodeskView and use the property panel to plan your query. I identified through the panel that the Pipes category has one family but multiple types such as Copper, PVC, and Cast Iron. For Pipe Fittings, family names are often more descriptive, so grouping by family gives a clearer result.
-
It is also recommended to take advantage of the wording "get all the distinct values and counts". Those words hint the App Builder to use a more efficient query that returns the unique values together with their counts. That is exactly what you need for quantity takeoff workflows, instead of retrieving all Revit instances first and then counting and grouping them afterward, which can be much slower.
-
The property name you choose also matters. In this prompt, I use "Element Name" to get unique types and "Family" to get unique families for each category. This is a practical trick because fields like "Type Name" or "Family Name" are not always the easiest ones to query directly. They often live in a different part of the element hierarchy, which means they may not be available from the same query path. We will see this more clearly in the next section.
-
My final tip for this section is to always take advantage of the different visualization and export options that the App Builder can offer. Here, the web view gives you a quick schedule and histogram, while the XLSX export gives you a file you can use for cost analysis or a bill of materials and share outside VIKTOR.
Prompt 2 - Filter Revit model data for quantity takeoff and QA/QC
The next step is learning how to create better filters. This becomes important as soon as you want to focus on a specific use case, such as a quantity takeoff for only certain plumbing elements or a QA or QC check for elements that match a rule.
Good filtering helps you build faster and more flexible applications because you only retrieve the information that is relevant to your task. It also gives you more control over the query, since the App Builder can work with operators such as "contains", "greater than", "less than", or "equal to".
Let’s run the following prompt in a clean App Builder session. We will use the same model from the previous prompt to get a quantity takeoff across the different levels of the building by applying multiple filters, and then we will go through the relevant parts.
Build this app now
Filter Revit model data for quantity takeoff and QA/QC
Key takeaways from this prompt
From this prompt I want you to keep the following tips:
-
Use the contains filter when you want more flexibility than an exact match. The prompt says to filter "Element Name" using "contains" conditions for names such as "Elbow", "Tee", and "Reducer". In this example, searching for "Elbow" can return types such as "45° Elbow", "90° Elbow", or "Carbon Steel Elbow", so you do not need to list every possible type name.
-
Filter down the scope early. The prompt limits the search to "Plumbing Fixtures", "Plumbing Equipment", and "Pipe Fittings". That already removes a lot of irrelevant model data before the heavier query starts.
-
The prompt asks for matching "instances", their "references", and the "nested properties" of those references. This is important because the instance is the element placed in the model, while the type is the shared definition behind it. Some values do not live on the instance itself, so the App Builder needs to move through references to get them. That is why it is always a good idea to tell it to check types and references. If you want a deeper explanation, this is a good reference. Revit families deep dive: elements and their classification
-
If you ask the App Builder to retrieve a property from an element and it returns nothing, that usually means the value does not live on the instance itself. It may live on the type or inside a reference. In this prompt, "Reference Level" is a good example.
Break down the problem into multiple queries
Another important takeaway that I want to highlight in its own section is to create two simpler queries instead of one complex one.
Instead of querying all plumbing instances and then trying to organize everything afterward, this prompt first asks the model for a smaller list of possible Element Name values. That first step is much cheaper than retrieving all matching instances with all their references and nested properties.
Then, once we know which names actually exist in the model, we build a second query that is more precise. This keeps the heavy query smaller and makes the app faster and easier to debug.
So the key idea is simple. First discover, then retrieve.
Prompt 3 - Store and reuse Revit query results for faster apps
As we saw in the first prompt, it is always a good idea to think about exporting your data to Excel, Word, or PDF, and to have multiple views to visualize the same result. The problem is that the App Builder can repeat the same Revit query for each view. If that query returns a lot of data, the app can become slow very quickly. A cleaner approach is to get the information once and reuse it across the app views, buttons, and exports.
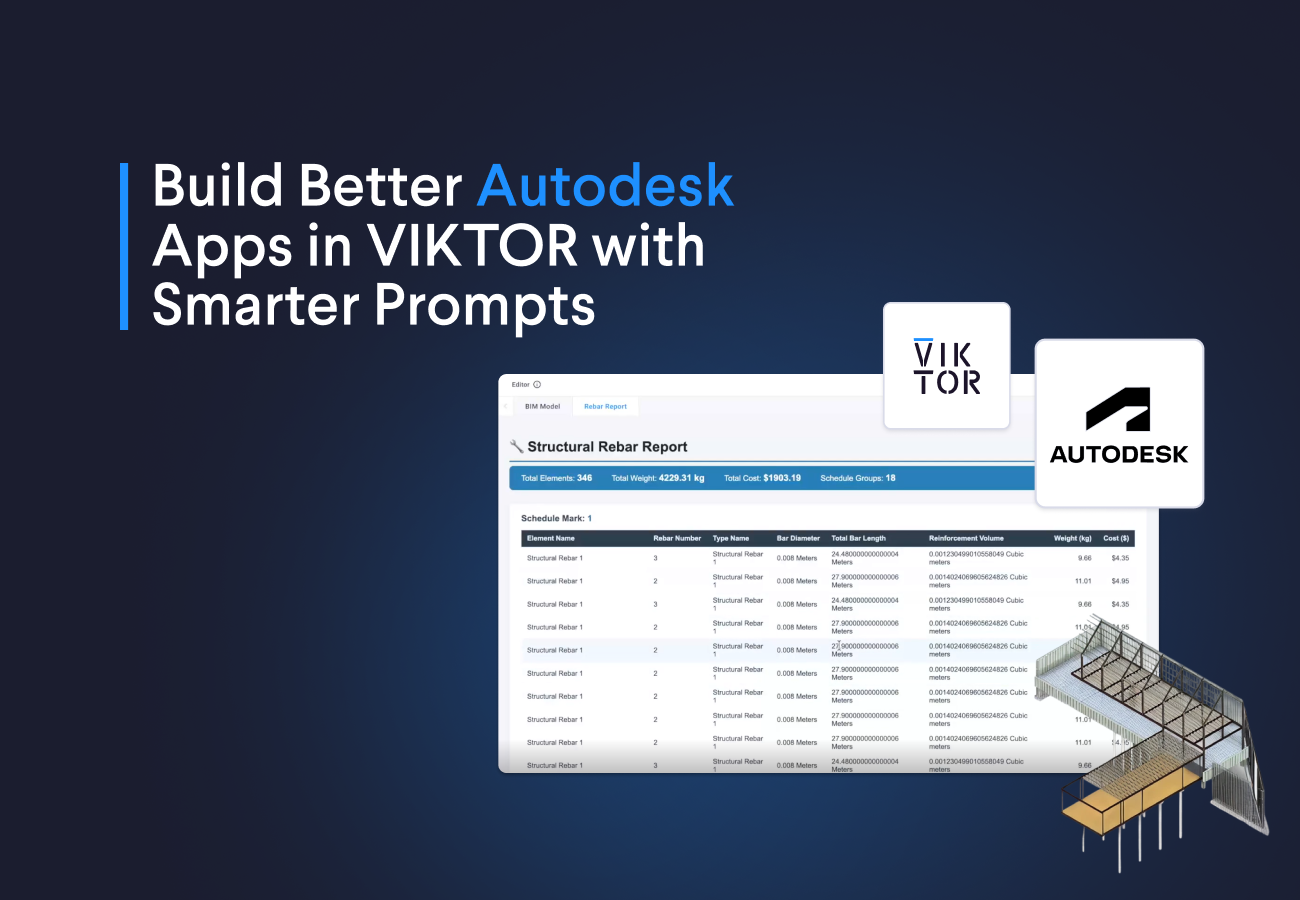
In this example, we will use a model with many rebar elements. That makes it a good case for showing how to handle a large and slow query in a better way. We will also use the model to build a simple cost analysis.
Download the following model, upload it to your ACC, and run the prompt below in the App Builder. Then I will explain the relevant parts.
Build this app now
Store and reuse Revit quary results for faster apps
Key takeaways from this prompt
-
The main takeaway is to tell the App Builder to use
vkt.Memoize. This lets the app save the result of a query and reuse it when the same query is needed again. So instead of asking the Revit model for the same information every time, the app can reuse what it already got. -
This matters even more in this example because the model contains many rebar elements. Without this, the app may repeat the same slow query every time the user opens a table, a web view, or an export button.
-
Another takeaway is that this prompt also uses an input table. This is useful because, instead of having multiple numeric input fields and option lists, you can use one clean table that groups everything in one place.
Saving results in the App Builder
Another useful feature to keep in mind is the saving functionality in the App Builder. This connects well with the previous point about slow and complex queries. If your app takes time to collect and process Revit data, your colleagues should not need to run the same workflow again every time they open it.
By using the saving functionality, you can share the app together with the stored results. That means users can come back to the same output, compare scenarios, or review the data without rerunning the full query each time.
You can check the saving functionality page for more details.
Wrapping up
The value of better prompting is simple. It helps you get to a useful app faster, with less trial and error.
If you know how to navigate model data, filter only what matters, and reuse results across views and exports, your app becomes easier to build and easier to use. You spend less time fixing slow queries, and more time getting to the quantity takeoff, QA or QC check, report, or cost analysis you actually need.
If you already set up your ACC and VIKTOR integration, these patterns will help you build apps that are faster, clearer, and more useful for your team. If you want to see more examples of integrating the Autodesk ecosystem with VIKTOR and AI workflows, register for the webinar here.
Start building apps for free

Related Blog Posts


Get our best content in your inbox
Subscribe to our newsletter and get the latest industry insights