
The VIKTOR platform gives you one place to automate engineering work, connect to the software you already use, and share apps with your team. You describe what you want to achieve, and VIKTOR AI turns your requirements into an app that performs calculations, processes project data, or generates reports. Your team can test the app, then reuse it for the same task on another project by providing the new project’s data. Instead of recreating the process each time, you can spend more time reviewing results and making engineering decisions.
In this blog, you will automate the following Forma Site Design workflows:
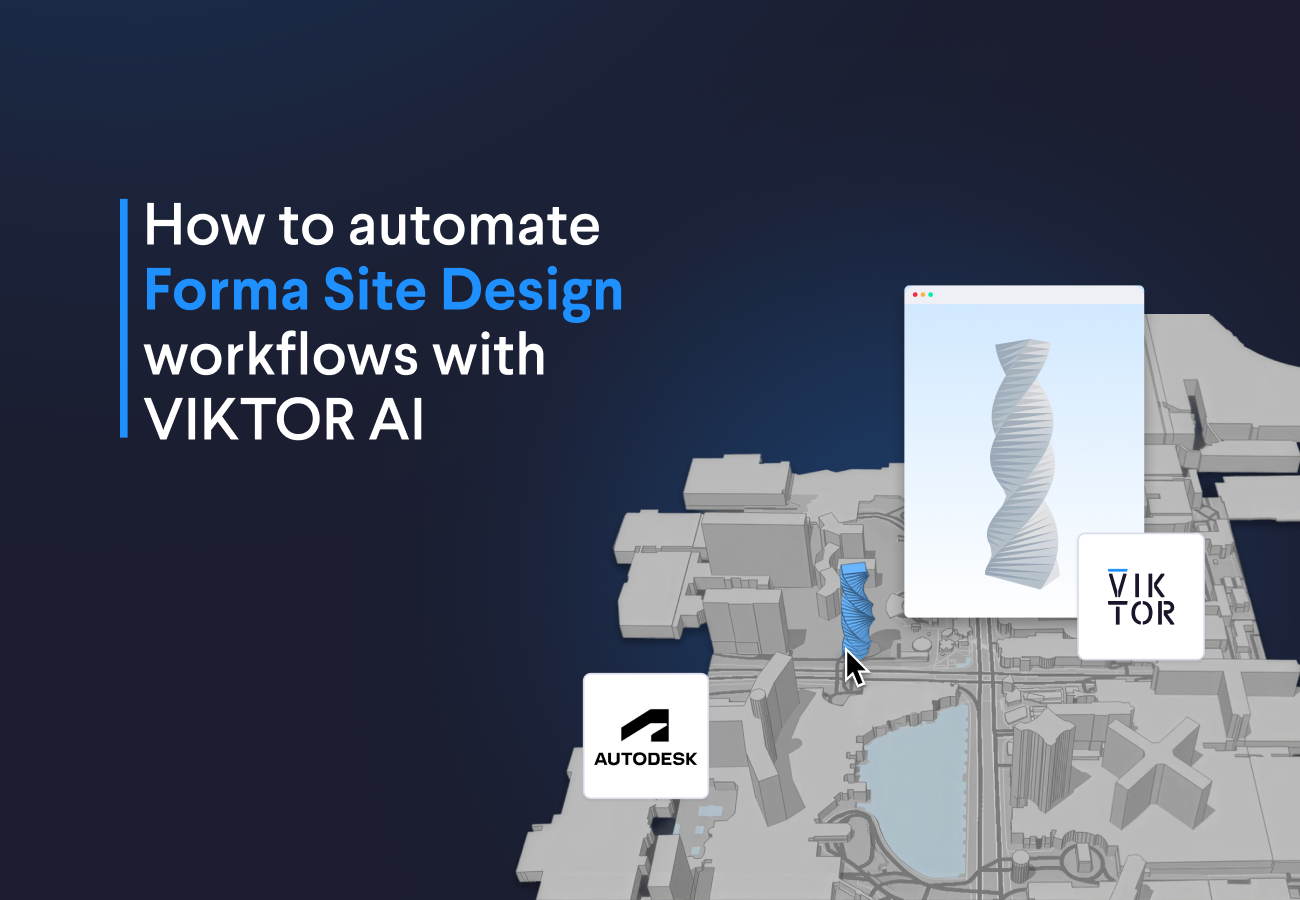
- A parametric twisting tower: explore building form by changing its floors, dimensions, taper, and rotation, then publish the selected option to the Forma Library.
- A drainage-risk heatmap: identify possible terrain low points and publish a colored review model to a new proposal.
- A parametric building layout: compare grid and spiral arrangements, match each building to the terrain elevation, and publish the layout to a derived proposal.
How do I set up the Forma Site Design integration?
Forma Site Design is a tool for exploring building concepts and site conditions during early design. Connecting it to VIKTOR lets you bring your own geometry rules and calculations into that process. Before trying the prompts, complete the initial integration setup through Autodesk Platform Services. You can then reuse the connection in your VIKTOR apps.
Follow these three steps:
- Create the APS application and VIKTOR integration. Create the application in APS, then configure its OAuth integration in the VIKTOR Administrator panel.
- Add the APS client ID to the ACC account as a custom integration.
- Create and install the Forma extension with the APS application as its owner and service account.
You can find the prerequisites, screenshots, permissions, and troubleshooting steps in the complete Forma Site Design integration guide.
In each prompt below, replace [YOUR-FORMA-SITE-INTEGRATION-NAME-HERE] with the exact OAuth integration name configured in the VIKTOR Administrator panel in step 1, such as forma-site in the guide.
How do I create a parametric twisting tower and publish it to Forma with VIKTOR AI?
If you work with early stage design, you know how often a building concept changes before the team settles on a direction. A taller tower, a smaller footprint, or a different rotation can mean adjusting many floors and preparing the model again for the next review.
With a parametric app in VIKTOR, you define those changes through a few inputs and see the updated form in the preview. This makes it easier to explore alternatives and bring the selected model into your Forma project, while keeping the same modeling logic ready for the next iteration.
The first prompt creates a 30 story tower from repeated floor plates. Each floor becomes slightly smaller and rotates around the vertical axis. The app previews the tower vertically in VIKTOR, converts it to the Y-up coordinate system expected by Forma, and exports a compatible GLB to the current project's Forma Library.
Let's see this in action. Replace the integration placeholder with the name of your configured OAuth integration, then use this prompt in the App Builder:



Create a parametric twisting tower and publish to Forma
Now that the application is ready, copy your Forma project ID into the app, as shown in the video below. You can then adjust the tower inputs and review the preview.
When you are happy with the form, publish it to the Forma Library. Return to the same project in Forma, open the Library, and place the tower in your proposal. You can repeat this process with different parameters as the design develops.
You can continue from this starting point by adding more building forms and parameters:
1Extend the tower app with a building-shape selector for twisting, stepped, tapered, and hourglass towers.
2Add parameters for podium floors, podium width and depth, core offset, and floor-plate corner radius.
3Keep the vertical preview and Forma-compatible GLB export, and show the total height and gross floor area before publishing the selected option to the Forma Library.
How do I screen Forma terrain for drainage and ponding risks with VIKTOR AI?
Once you have explored a building form, the next question is where it fits on the site. Looking at the terrain can give you a general impression, but shallow depressions and local low points may be difficult to spot when you are comparing locations for buildings or open spaces.
By turning terrain elevations into a colored heatmap, you can draw the team's attention to areas that may collect water and decide where a closer drainage review is needed. VIKTOR brings that screening result back into a Forma proposal, so you can discuss it alongside the site design. Detailed drainage design still requires the relevant hydrological inputs and engineering checks.
The second prompt reads the terrain from a selected Forma proposal, samples its elevations, identifies local low points, and presents the result as a colored GeometryView with a summary table.
Screen Forma terrain for drainage and ponding risks
Once the application is ready, enter your Forma project ID and region, then select the proposal you want to analyze, as shown in the video below.
Review the heatmap and summary table, then publish the result when it is ready to share. Back in Forma, refresh the project and open the new proposal to see the colored terrain alongside your design context. The original proposal remains available for comparison.
The same terrain can support other early analyses. For example:
1Extend the terrain app with a slope analysis.
2Let me define slope ranges and colors, calculate the local terrain gradient, and show a slope heatmap with the area in each range.
3Add a summary of flat areas that may suit building placement and steep areas that may need grading or further review.
4Let me publish the result to a new Forma proposal without changing the selected source proposal.
How do I create a parametric building layout on Forma terrain with VIKTOR AI?
The terrain review gives you a better understanding of the site. When you start arranging buildings across it, another repetitive task appears: each change to the layout means moving volumes, adjusting their orientations, and checking their elevations against the ground.
With a parametric layout, you can explore a regular grid or a spiral arrangement by changing the building count, spacing, and orientation together. Each building takes its base elevation from the terrain beneath its center. This helps you compare site arrangements with the buildings and terrain in one preview, then bring the selected layout into a new Forma proposal.
The third prompt controls building dimensions, spacing, layout position, and orientation. It previews the buildings together with the terrain in VIKTOR, then publishes them as native Forma Basic Geometry in a new derived proposal.
Create a parametric building layout on Forma terrain
With the building layout app ready, enter your Forma project ID and region, then select the proposal whose terrain you want to use, as shown in the video below. Adjust the building arrangement in the preview and publish the layout to a new Forma proposal.
You can explore more building geometries within the same layout, from circular volumes to buildings that frame a courtyard:
1Extend the building-layout app with rectangular, circular, L-shaped, and U-shaped building options.
2Add shape-specific inputs for radius, wing length, wing width, and courtyard dimensions, plus controls for building height and rotation.
3Let me mix shapes across the grid or spiral and preview the complete arrangement on the terrain.
4Keep each building upright at its sampled terrain elevation, and check spacing using its actual footprint.
5Publish the buildings to a new derived proposal using supported native Forma Basic Geometry, reporting any unsupported shape clearly.
What's next for the Forma Site Design integration?
With VIKTOR, you can already explore terrain, generate buildings, and publish results to Forma. Some actions still require an extension running inside Forma and are not yet available through this integration:
- Live selection and camera control: react to the objects you select, move the camera, or capture the current view through the SDK's selection and camera tools.
- Drawing directly in the proposal: click to define points, lines, polygons, or extrusions and use them as workflow inputs through the SDK's drawing tools.
- Temporary visual feedback: highlight buildings or display analysis overlays inside the open proposal through the SDK's rendering tools. These visual changes disappear when the extension closes and are not saved to the proposal.
Connecting these capabilities to VIKTOR would open up more interactive workflows inside Forma Site Design. Share the workflows you want to automate on the VIKTOR Community to help inform future development.
Conclusion
These three prompts show how VIKTOR can support early Forma workflows. You can create and publish a parametric tower, screen terrain for possible drainage risks, and arrange buildings at terrain-based elevations in a derived proposal. The previews help you review each result before it becomes part of the Forma project.
The same integration can support more project specific rules, calculations, and comparisons as your workflow develops. Try one of the prompts above, or book a demo here to explore how you can automate your team's Forma Site Design workflows.
Start automating your workflows
Related Blog Posts



Get our best content in your inbox
Subscribe to our newsletter and get the latest industry insights